Getting started
Step 1: Register and download the software
- Visit http://www.irislink.com/start.
- Select your product to begin registration.
- Register your product. (Registration is recommended because it activates the warranty and gives you access to service and support as well as exclusive offers.)
- Follow the on-screen procedure.
- Download the software for your product.
Step 2: Install the software
- Go to the local folder where you downloaded the software.
- Double-click the Readiris™ Visual installation file.
- Follow the on-screen instructions to the Finish/Close button to complete the installation.
Notes:
- The installation language is the same as your Operating System's.
- When prompted, we recommend that you accept the restart of your computer.
Step 3: Start the software
- To start the program on a Windows computer:
Double-click on the Readiris™ Visual icon on the desktop or launch the program from the Windows program list: click on the Windows start menu > All Programs > Readiris™ Visual > Readiris™ Visual. - To start the program on a macOS computer:
Click on Finder, open the Applications folder, and click on Readiris™ Visual.
Step 4: Install the hardware
- Connect the supplied USB cable to the IRIScan™ Visualizer camera and plug the other end into the USB port on your computer (Win or Mac).
- Refer to the IRIScan™ Visualizer quick-start guide for more information (included in the product box).
Step 5: On Windows 10, 11 and MacOS set the camera permissions
- Go to Start ► Settings ► Privacy ► Camera
- Make sure the "Let apps use my camera hardware" switch is turned on.
- Scroll down to "Allow desktop apps to access your camera" and set that switch to on.
On MacOS go to System Preferences\Settings ⯈Privacy and security and set these to allow.
- Camera
- Files and Folders\Full Disk Access
- Microphone
Step 6: Start using
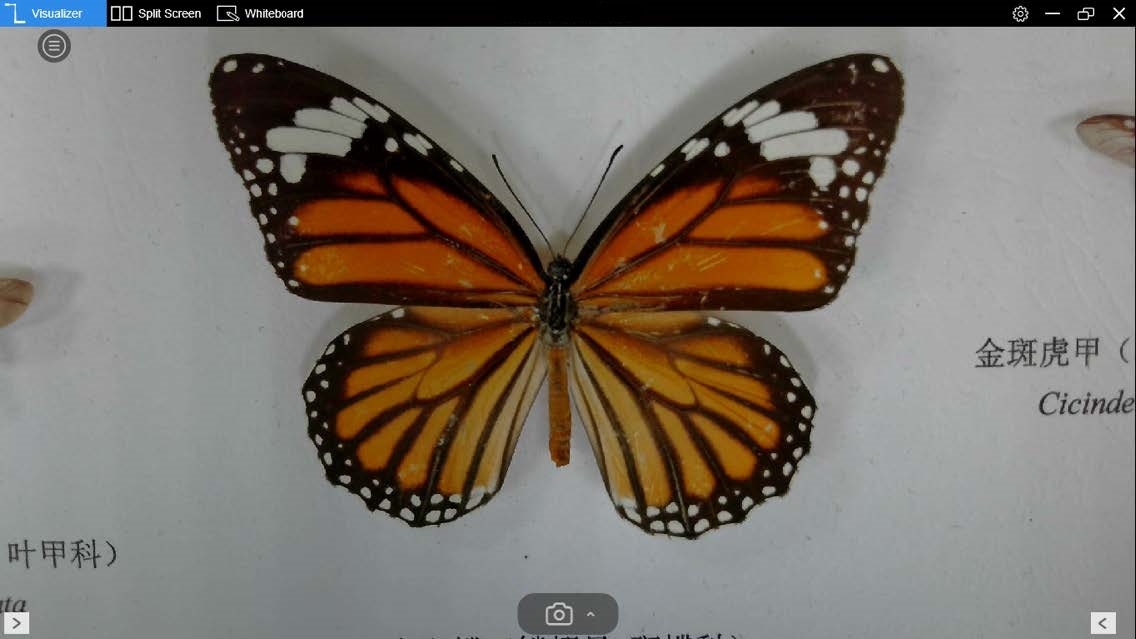
When the document camera is connected to the desktop/laptop computer, "Visualizer" mode (live video) is automatically opened.


Sandra Jonckheere
Comments